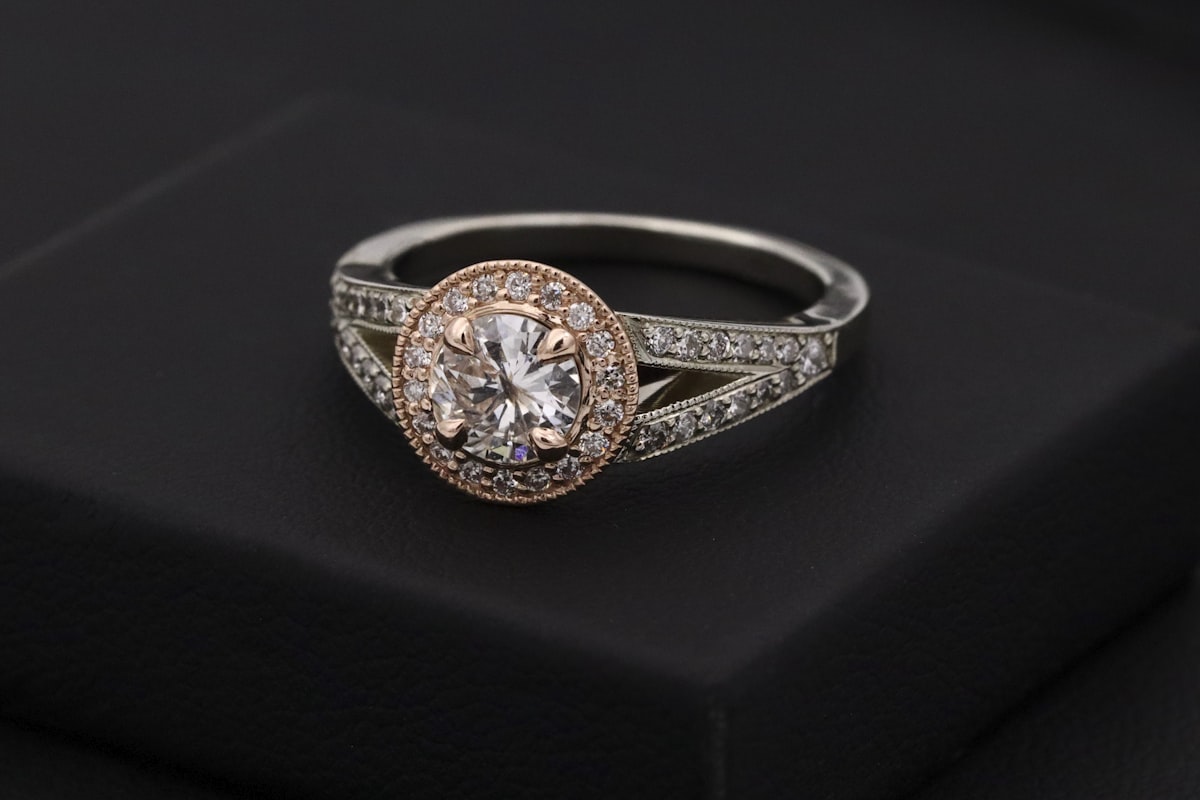
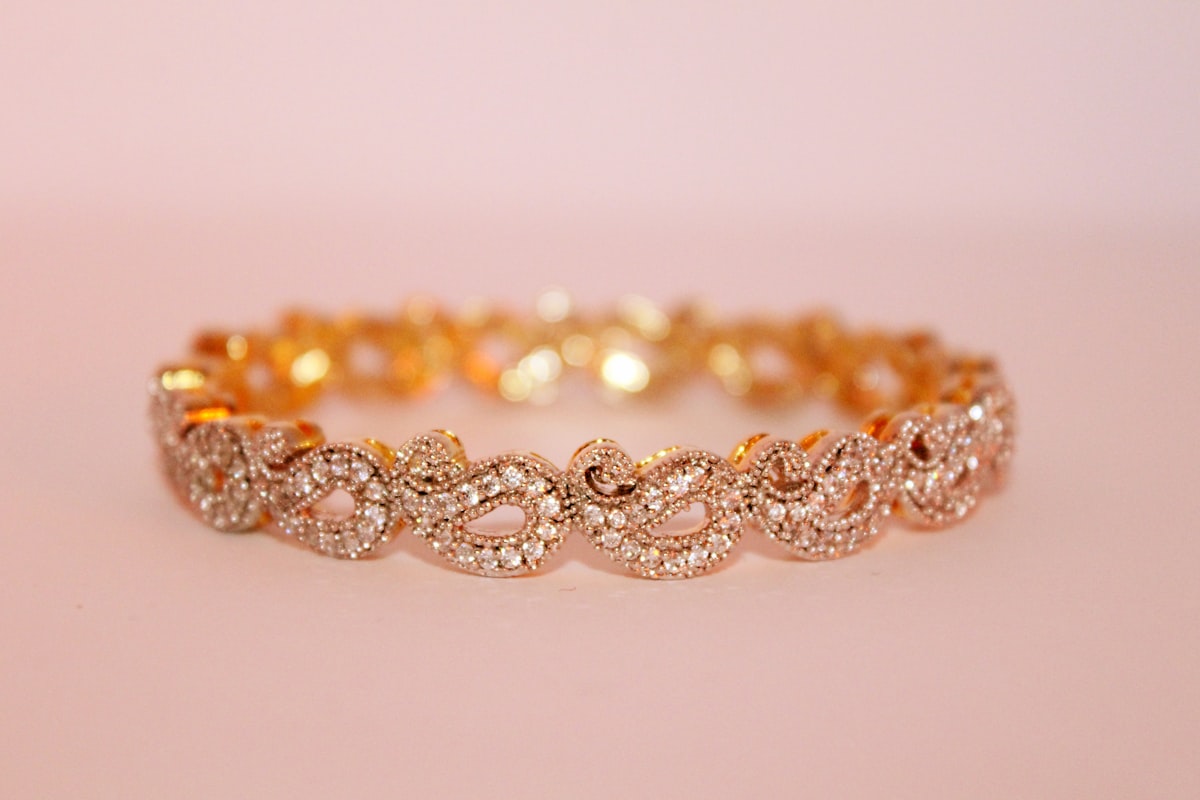
A ring does not appear from nowhere
When you put on a ring, you rarely think about everything behind it. But between the initial idea and the moment the piece reaches your finger, there is a fascinating process full of decisions, technique and hand work.
Step 1: Design
Everything starts with an idea. The jeweller works with the client to translate that idea into something achievable, taking into account the material, budget, proportions and functionality.
Step 2: Choosing the metal
Silver, yellow gold, white gold, rose gold, platinum... Each metal has its properties, price and working characteristics. Silver is softer and easier to work with — ideal for lost-wax casting and artisan jewellery.
Step 3: Making the piece
Depending on the chosen technique, the manufacturing process changes: lost-wax casting, forging, or CAD/milling.
Step 4: Finishing
Once the piece is in rough metal, the finishing work begins: filing, sanding and polishing to achieve the desired result — shiny, satin or matte.
Step 5: Setting (if the ring has a stone)
If the ring has a stone, setting is the final phase. There are different types: prong setting, bezel setting, flush setting...
How long does it take to make a ring?
A simple handmade ring can take between 3 and 8 hours of work. A complex one with stone settings can take 20 hours or more.